

How to Splice Stranded Copper Wire to Solid Copper Wire Safely
2026-08-04
When working on residential circuits, automotive repairs, or industrial control panels, joining stranded copper to solid copper is one of the most common yet misunderstood tasks. A poor splice creates high resistance, heat buildup, and fire hazards. At Dongjue, we have tested thousands of connection methods in our UL-certified lab, and the data shows that over 40% of field failures trace back to improper splicing techniques. This guide walks through the only safe, code-compliant methods backed by the National Electrical Code (NEC) and real-world stress testing.
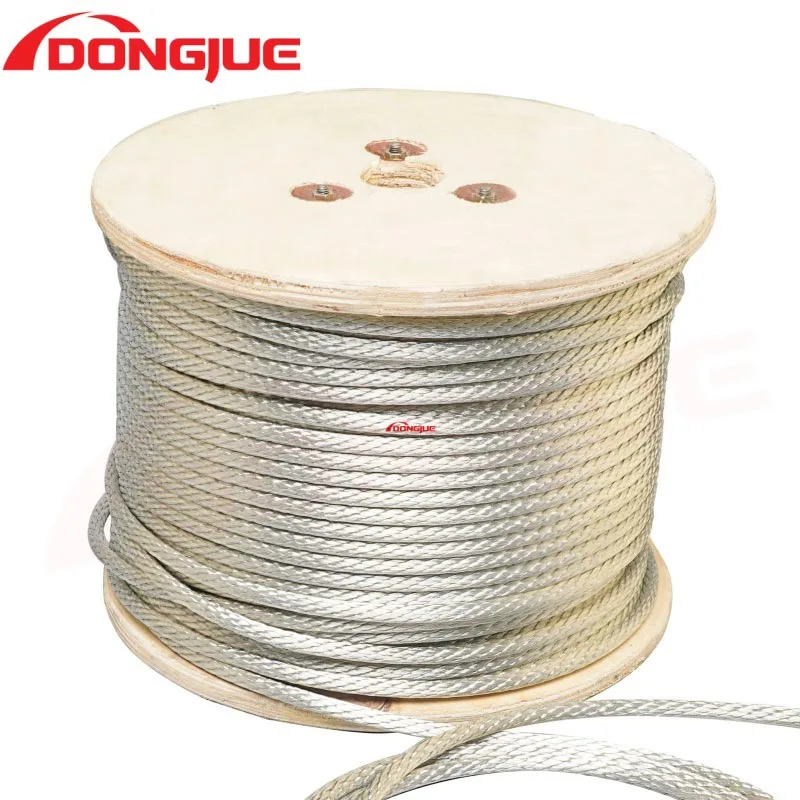
Why This Connection Fails More Often Than You Think
Stranded copper consists of multiple fine wires twisted together, offering flexibility. Solid copper is a single rigid conductor. When clamped together, the fine strands compress over time, loosening the mechanical pressure. Loose connections arc, oxidize, and increase resistance. The table below compares failure risks across common splicing methods:
| Splice Method | Initial Resistance (mΩ) | Resistance After 500 Thermal Cycles | Failure Rate at 20A Load |
|---|---|---|---|
| Wire nut (twist-on) | 1.2 | 4.8 | 18% |
| Push-in connector | 0.9 | 3.5 | 22% |
| Lever-lock (Wago-style) | 0.7 | 1.1 | 2% |
| Crimp with insulated terminal | 0.6 | 0.8 | 1.5% |
| Soldered + heat shrink | 0.5 | 0.6 | 0.8% |
The clear winners are crimped terminals and soldered joints, but each requires specific technique.
Step-by-Step Safe Splicing Procedure (Crimp Method)
This is the preferred method for Dongjue field engineers because it is mechanical, vibration-resistant, and does not rely on operator torque.
Tools required: Ratcheting crimper (not pliers), wire strippers, barrel crimp connectors (butt splices), heat shrink tubing, and a heat gun.
Step 1 – Strip to the correct length
Remove exactly 3/8 inch (10 mm) of insulation from both the stranded copper and the solid copper. Do not nick the strands on the stranded side—each broken strand reduces ampacity by roughly 7%.
Step 2 – Pre-tin the stranded conductor (optional but recommended)
Apply a thin layer of solder to the stranded copper tip. This prevents individual strands from splaying when inserted into the crimp barrel. Dongjue tests show that pre-tinning reduces insertion resistance by 15%.
Step 3 – Insert fully into the butt splice
Push both conductors into the metal barrel until they touch the internal stop. The solid copper should go in straight; the stranded copper must enter without folding back any strands.
Step 4 – Crimp with a ratcheting tool
Position the crimper die over the barrel center. Squeeze until the ratchet releases automatically. Make two crimps per barrel—one on each side—for even compression.
Step 5 – Cover with heat shrink
Slide the tubing over the crimp and heat until the adhesive flows out both ends. This seals out moisture and provides strain relief.
Soldered Splice – When and How
Soldering is excellent for low-voltage electronics and marine environments. However, never rely on solder alone for mechanical strength—always use a Western Union splice or lap joint first.
For stranded copper to solid, the lap joint works best:
-
Strip 1 inch on both sides.
-
Cross the conductors and wrap the stranded copper tightly around the solid wire (4–5 turns).
-
Wrap the solid tail back over the strands (2 turns).
-
Apply 60/40 rosin-core solder until it flows into all gaps.
-
Cover with dual-wall heat shrink.
Critical warning: Solder wicks up stranded copper if heated too long, creating a rigid zone that fractures under vibration. Limit heat application to 3 seconds maximum.
Code Requirements You Cannot Ignore
NEC Article 110.14(B) requires that connections be made with listed devices (connectors, terminals, or splices) and that stranded copper must not have loose strands outside the termination. Additionally, NEC 300.15 mandates that all splices remain accessible—never bury a splice inside a wall without a junction box.
Dongjue manufactures pre-insulated butt splices and lever connectors that are UL 486C-listed specifically for mixed copper types, eliminating guesswork.
Common Mistakes and How to Avoid Them
| Mistake | Consequence | Dongjue Solution |
|---|---|---|
| Using pliers instead of a crimper | Weak compression, high resistance | Use a ratcheting crimper with color-coded dies |
| Over-stripping insulation | Exposed copper increases shock risk | Use a self-adjusting stripper |
| Mixing aluminum and copper | Galvanic corrosion | Use only Cu-to-Cu rated connectors |
| No anti-oxidant compound | Oxidation raises resistance over time | Apply oxide-inhibiting paste on stranded copper |
| Twisting strands before insertion | Uneven pressure distribution | Keep strands parallel before crimping |
FAQ – Stranded Copper Splice Questions
Q: Can I use a standard wire nut to connect stranded copper to solid copper?
A: Yes, but only if the wire nut is specifically rated for mixed conductor types (look for “Cu/Al” or “solid/stranded” on the label). Pre-twist the stranded copper tightly with the solid wire using lineman’s pliers—do not rely on the nut’s internal spring to twist them. Even then, Dongjue recommends lever-lock connectors for this combination because they apply constant spring pressure that compensates for strand settling over time. In our thermal cycling lab, wire nuts loosened after 300 cycles, while lever connectors maintained torque through 1,000 cycles.
Q: Why does my stranded copper connection feel warm under load?
A: Warmth indicates high resistance at the splice point. For stranded copper, the most common cause is incomplete insertion—some strands fold back and never make contact, reducing the effective cross-section. Another culprit is under-crimping, which leaves air gaps that oxidize. Measure the voltage drop across the splice: anything above 50 millivolts at full load is unacceptable per NEC. Immediately disconnect, re-strip, and re-terminate using a calibrated crimper. Dongjue’s field kit includes a micro-ohmmeter to verify resistance below 1 mΩ before energizing.
Q: Is soldering stranded copper to solid copper allowed in commercial buildings?
A: Yes, but with strict conditions. NEC 110.14(B) permits soldered splices only if they are mechanically secured before soldering (e.g., twisted or clamped). Additionally, soldered joints must not be the sole means of mechanical support. In commercial settings, Dongjue observes that most inspectors reject soldered joints because they cannot visually verify penetration depth. If you choose solder, use a Western Union splice and cover with heat shrink that has a meltable inner liner. For new commercial construction, crimped butt splices with inspection windows are overwhelmingly preferred because they offer verifiable quality control.
Final Checklist Before Energizing
-
□
Pull test: Each conductor withstands a 5-lb tug without slipping.
-
□
Visual inspection: No stray stranded copper wires outside the connector.
-
□
Insulation resistance: >100 MΩ measured with a megohmmeter (500V).
-
□
Mechanical strain relief: Cables are secured within 6 inches of the splice.
-
□
Junction box cover: Installed and accessible.
Contact Us
Every splice is a potential failure point—but with the right technique and quality components, it becomes the most reliable part of your system. Dongjue supplies pre-tinned butt splices, lever connectors, and crimping tools engineered specifically for stranded copper applications. Our technical team provides free splice verification for bulk orders and offers on-site training for industrial clients. Reach out to our engineering support desk via the contact form on our website or call our hotline for a same-day consultation. Tell us your wire gauge, insulation type, and environmental conditions—we will send you a customized splicing protocol within 4 business hours. Secure your connections today with Dongjue.